- Free In-Home & Phone Estimates
- Same Day Appointments
- Locally Family Owned & Operated
CALL US TODAY!
Blog
Check Out Our Garage Door Information Blog in Plano, TX
Upgrading your garage door is a smart investment in terms of ROI and can enhance your home's energy efficiency, security, and value. Read on to learn more.
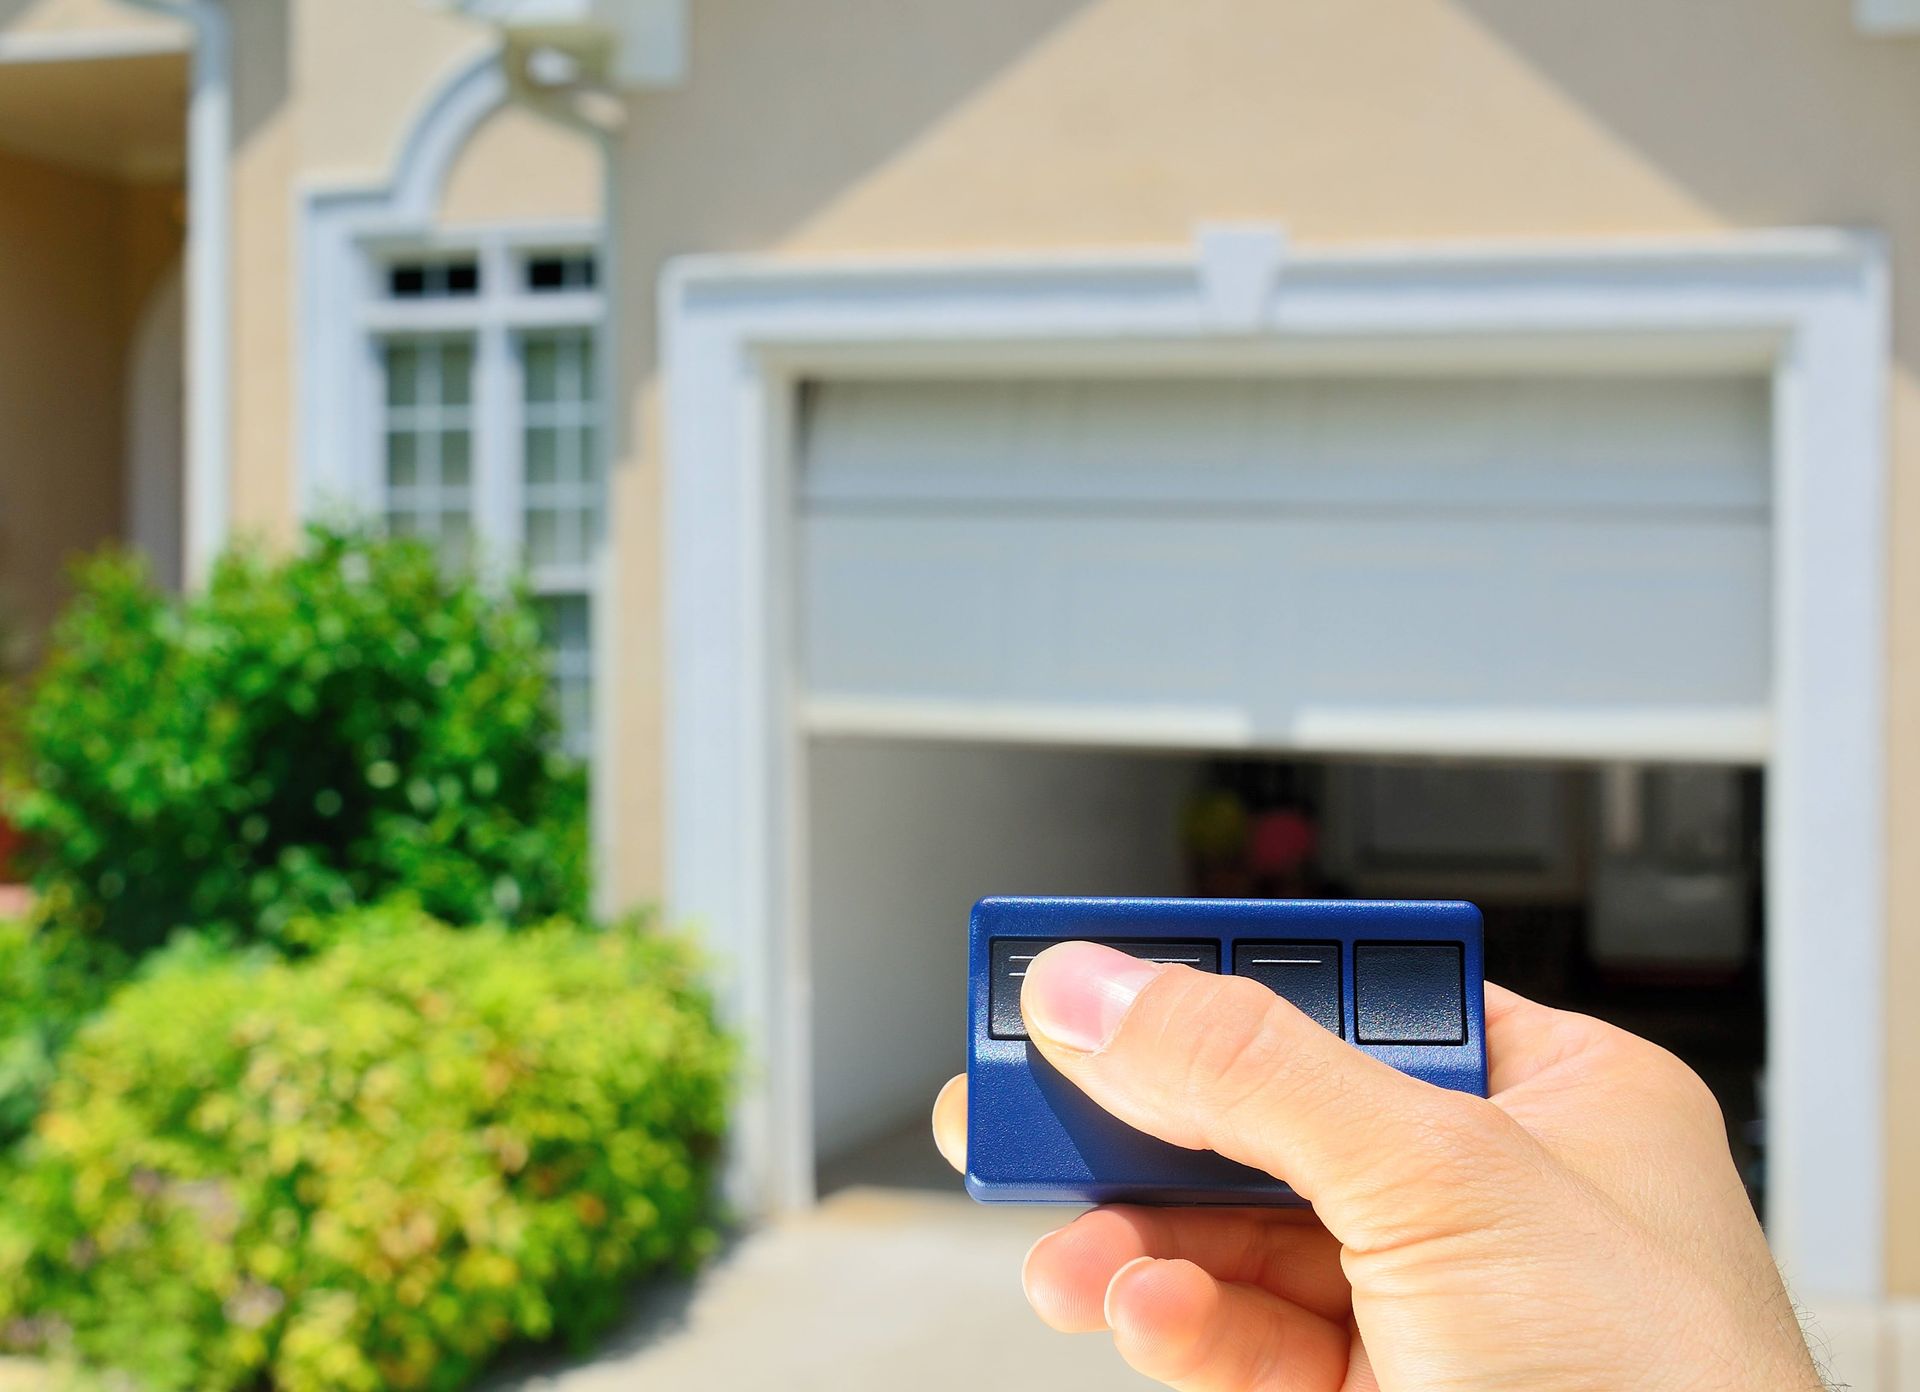
Understanding the fundamentals of belt drive and chain drive garage door openers is crucial in selecting one that suits your needs. Read on to learn more.
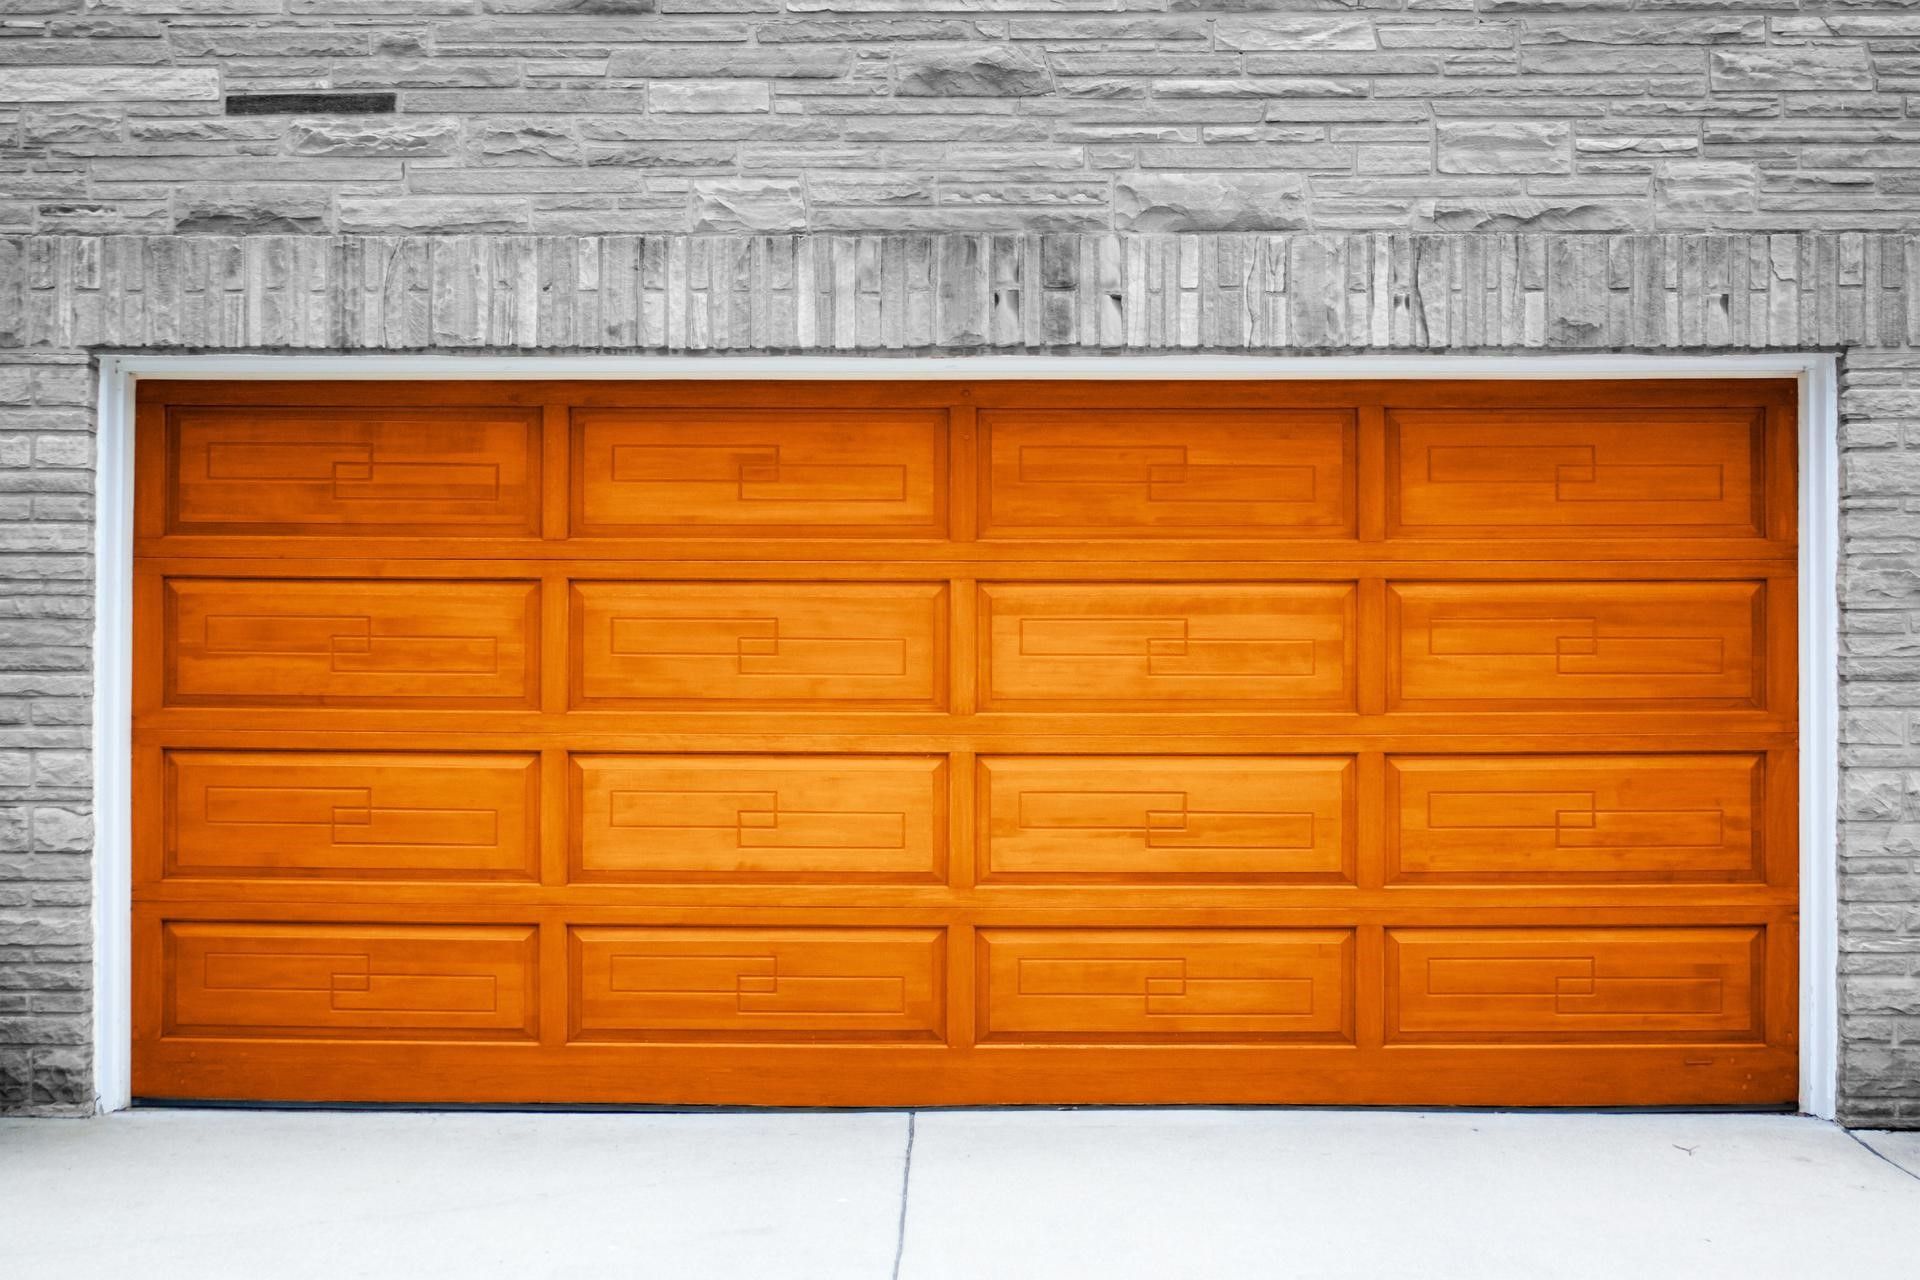
Sectional garage doors have become a preferred choice for homeowners and businesses. Read our blog to understand why you should upgrade yours today.
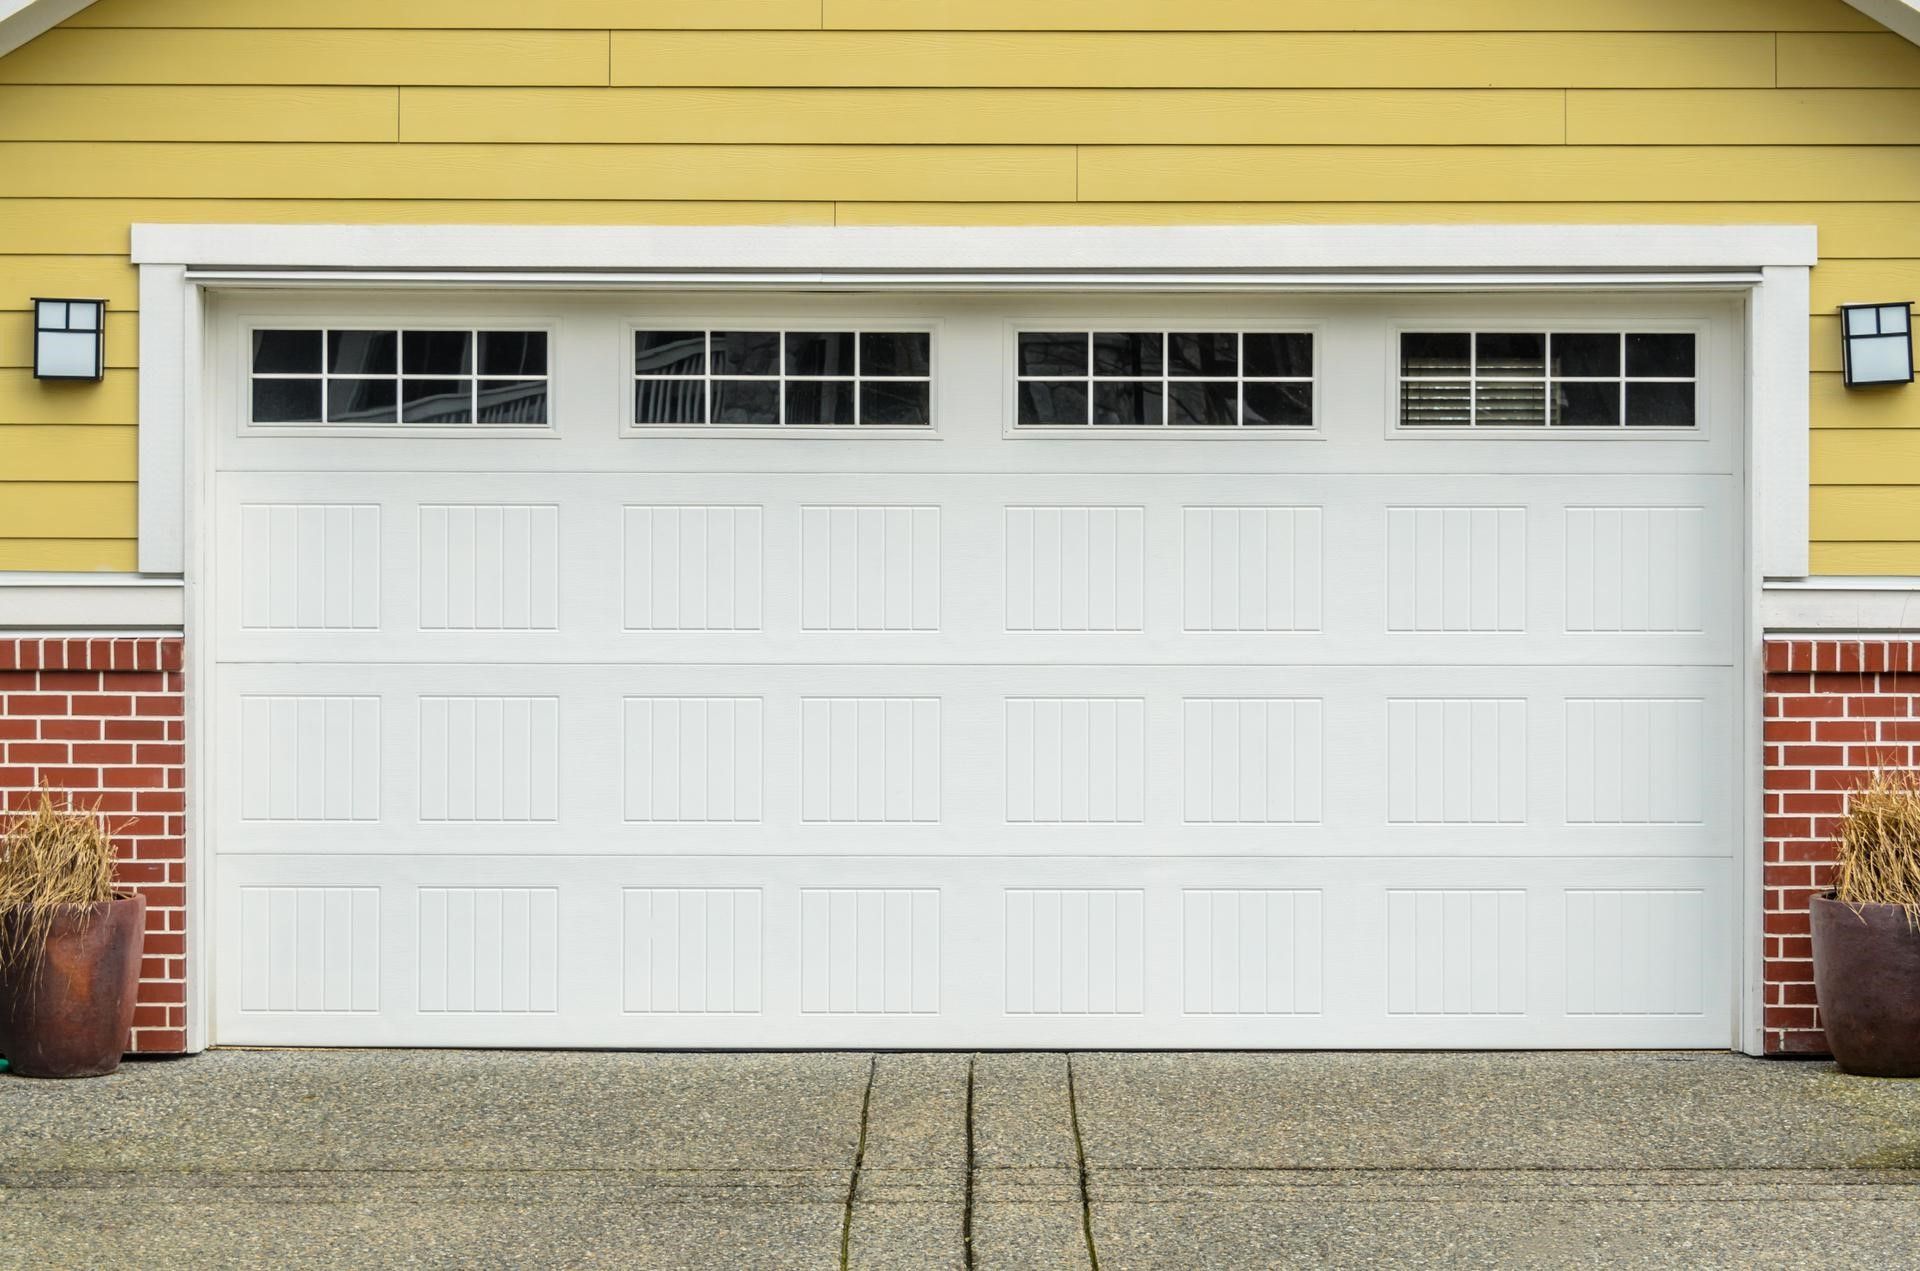
In this blog post, we'll discuss the signs that it's time to replace your garage door so that you can keep your home safe and secure. Read on.

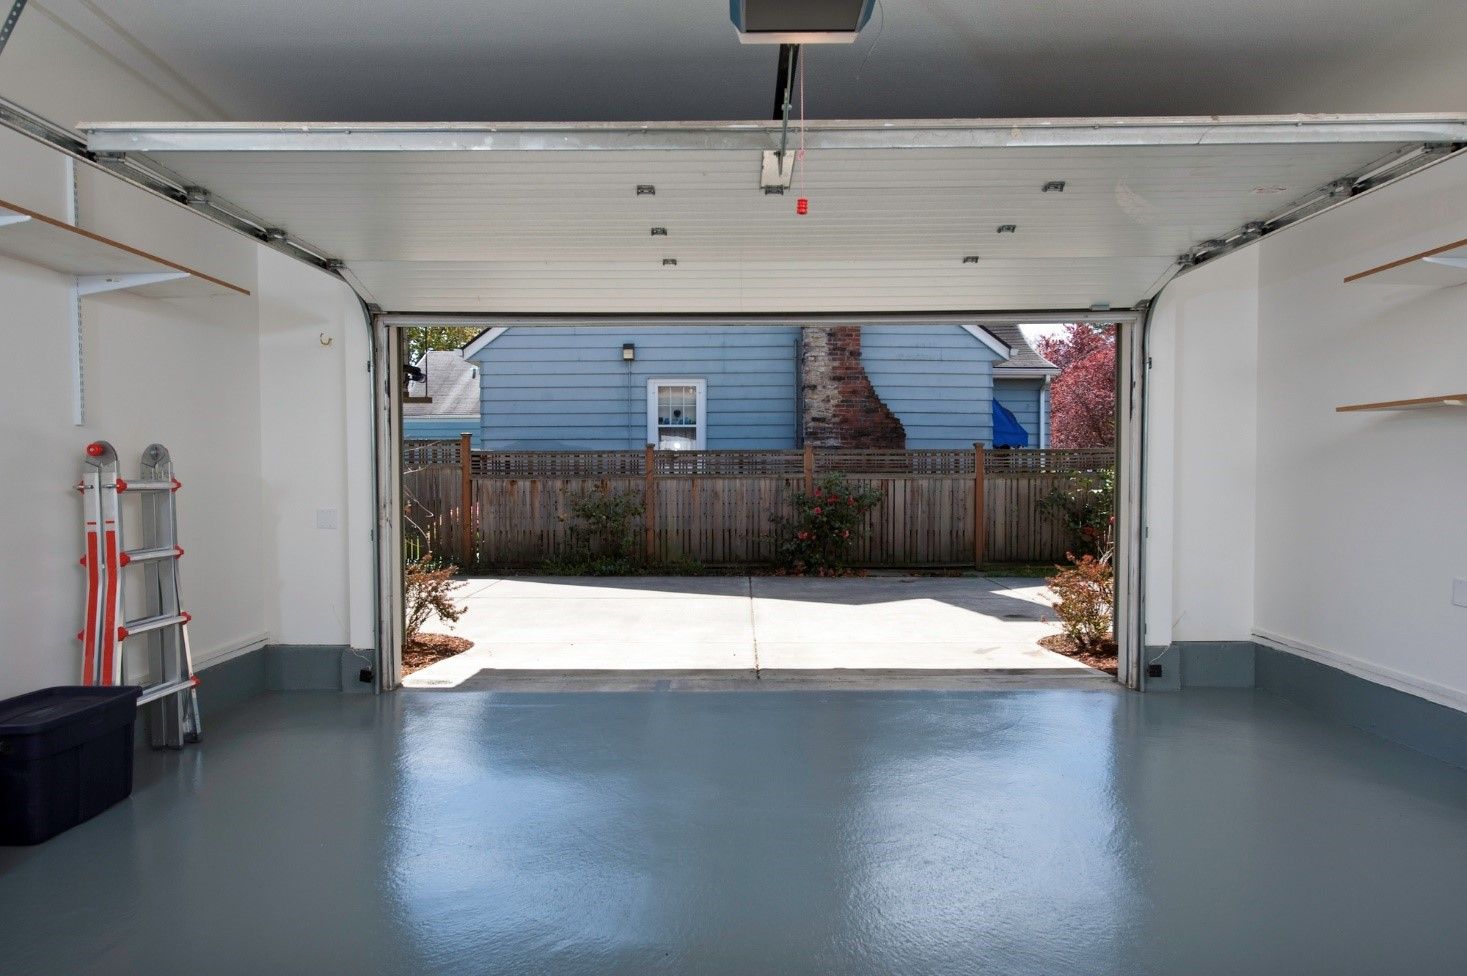
A garage door system consists of several key components that work together to facilitate smooth and reliable operation. Understanding these components is crucial for both maintenance and troubleshooting. Here are the main elements of a typical garage door system. Door Opener The garage door opener typically consists of an electric motor housed in a sturdy […]
The post Understanding the Components of a Garage Door appeared first on Plano Overhead Door.

Garage door torsion springs play a crucial role in the smooth functioning of your garage door. Over time, these springs can wear out and lose their effectiveness. This can lead to some problems with your garage door. Once torsion springs wear out, they can pose a safety risk to you and your family. That’s especially […]
The post Signs Your Garage Door Torsion Springs Need Replacing appeared first on Plano Overhead Door.
Contact Plano Overhead Garage Door in Plano, TX, at 972-422-1695 to learn more about garage doors.
Contact Information
Phone: 972-422-1695
Address: 1100 N. Central Expy
Plano, Texas 75074
Find Us On:
Business Hours
Mon-Fri: 8:00 AM - 5:30 PM
Sat: 9:00 AM - 1:00 PM
Sun: CLOSED
Payment Options:


